When you are applying Decoupage to glass or transparent surfaces. You may want to use a technique called Reverse Decoupage. This Decoupage technique allows your designs and paper to be applied and seen from both sides of a transparent surface.
Also, it can allow you to Decoupage one side of a clear surface and make it visible on the other, such as on the underside of a glass plate or table.
So what is Reverse Decoupage? Decoupage on glass or transparent surfaces is called Reverse Decoupage. This is because when you adhere thin paper or napkins using glue to a transparent surface like glass. The Decoupage on one side is visible on the other, giving it the artistic reverse effect from which it takes its name.
It’s also called Reverse Decoupage because the steps that are taken for Decoupage can be done in the reverse. You glue your paper face down onto a transparent surface to get a stunning reverse effect.
This means that you can use the same sets of materials and glues as you would for normal Decoupage, but you would take great care to ensure the finished Decoupage design looks good on all visible sides.
You can also use the Reverse Decoupage technique to apply paper and glue inside or underneath transparent and clear items, such as inside glass jars or under glass tables.
For Reverse Decoupage, you will need to use a transparent surface to achieve the artistic reverse effect. Meaning that many transparent objects can be used for this Decoupage technique alongside paper, Mod Podge, brushes, and sealers.
Which Surfaces Can You Reverse Decoupage?
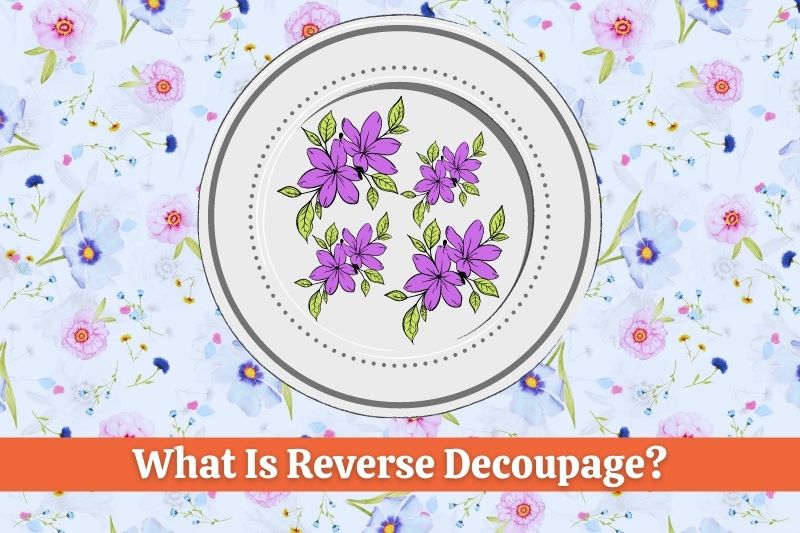
You can use many transparent surfaces for Reverse Decoupage, including anything made out of clear glass or plastic. Our favorite surfaces and items to use for Reverse Decoupage are usually made from Glass. This includes Glass Plates, Bowls, Trays, Tables, Jugs, Jars, Vases, and bottles.
Even though you can Reverse Decoupage many transparent Plastic surfaces, it’s usually much easier to use Glass as it can be less tricky to adhere your paper and materials to the surface.
Glass surfaces also don’t need much preparation for Reverse Decoupage. You simply need to use a wet cloth to clean the surface, let it dry, then you can start your project and stick your materials to the smooth surface.
Whereas, if you’re using a plastic surface for Reverse Decoupage, they can sometimes be a bit rough or harder to clean and prepare to ensure you get a smooth finished surface.
You can use the Reverse Decoupage technique in a few ways, including Decoupaging the inside of transparent glass surfaces or plastic items.
Also, you can use this technique on the underside of many transparent or clear surfaces. Such as the undersurface of a glass plate, which will allow your Decoupage design to be visible through the surface.
Glass plates, bowls, jugs, and jars are all great surfaces to use for Reverse Decoupage. As you can adhere your paper and materials to the surface, and get a fabulous reverse effect.
What Paper Can You Use For Reverse Decoupage?
For Reverse Decoupage you can use Decoupage paper, napkins, rice paper, and tissue paper. Usually, any thin paper is great to use for Reverse Decoupage. If you are using thicker paper, you can adhere your paper or design face down to ensure its visibility through the clear or transparent surface.
Thin paper is normally the best paper to use for Reverse Decoupage as it will easily wrap and form around most transparent surfaces. It will also look fairly clear once glue or Mod Podge has been applied.
If you are using the reverse technique on the underside of glass plates, or the inside of jars, vases, or bowls. It’s usually much easier to use thin paper as it’s lighter and easier to position or form to the shape before applying glues.
However, you can still use thick paper for some Reverse Decoupage projects. If you are using a large glass item with a larger surface area such as the underside of a glass table. Using thicker paper or cardstock might be easier, and allow you to get a flatter, smoother finished surface.
So when you are working on a Reverse Decoupage project. You should pick your paper and materials wisely to get the finish you are looking for.
Ideally, you want to use a paper that gives you the reverse effect with ease. So it’s a good idea to test scrap pieces of paper before using them in your main project.
How Do You Reverse Decoupage?
So what are the steps you should take when you want to Reverse Decoupage a clear or transparent surface such as glass?
Here’s how to Reverse Decoupage a transparent surface:
- Prepare Your Materials – You should prepare your paper and materials and cut them to size. Cut out your designs and patterns and get them ready.
- Prepare The Surface – You should clean the transparent surface thoroughly and let it dry. If you are using glass surfaces, try to remove any traces of oil or dirt to ensure they won’t interfere with the finish.
- Stick Your Paper To The Surface – Once your surface is clean, dry, and smooth. Position your paper and adhere it to the surface using Decoupage glue or Mod Podge. For reverse decoupage on the inside or underside of glass items, glue down your paper face down or in reverse so that your design is visible through the surface.
- Let It Dry – Once your paper is glued to the surface, let it dry completely. For most projects using Mod Podge, the surface will be touch dry within 30 minutes, and take 28 days to fully cure.
- (Optional) Add Embellishments Using Paint – Once your reverse decoupage is dry on the transparent surface. If you want you can add embellishments to the surface or add color using paint or Gesso. You can also use Gesso as a finisher or to fill in any areas missed by your paper.
- Seal The Final Surface – It’s always recommended to seal the final surface of your Reverse Decoupage using a clear drying durable and water-resistant sealer. For most projects, you can simply apply a few coats of protective Mod Podge to the finished surface.
If you use the steps above to apply Reverse Decoupage on Glass surfaces. It can be a great way to get a unique and wonderful reverse effect on many different clear and transparent surfaces.
This is especially true for surfaces such as Glass plates or bowls, as you can apply your paper on the underside of the plate or bowl, and still have a fully functional item that can be used as a decorative plate for dinner or in the kitchen.