Decoupage is a fabulous crafting technique to cover and decorate many different objects using paper, materials, or embellishments.
But one of the problems you may face when using Decoupage on your chosen project is getting the surface to have a smooth and even finish.
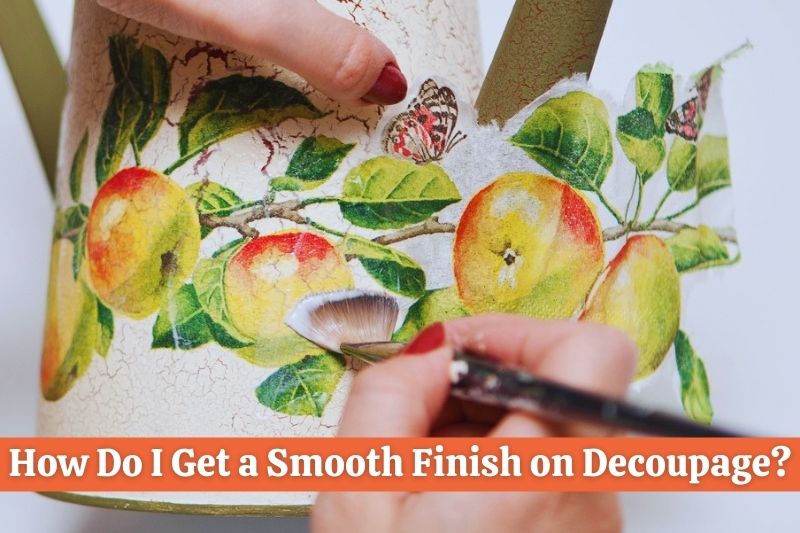
So how do I get a smooth finish on Decoupage? You can get a smooth finish on your Decoupage by using a sponge brush to carefully apply an even spread of sealant. You can also use very fine sandpaper to wet sand the surface of your sealant once it’s dried to get a very smooth finish.
Using a sponge or foam brush is a great way to ensure the sealer or Mod Podge is applied flat, level, and evenly over the top of your Decoupage surface.
You can also use very fine art brushes to apply a thin, smooth layer of sealant without leaving noticeable lines or brush marks.
Can I Use Sandpaper to Smooth Decoupage?
Yes, you can use a very fine gritted sandpaper (such as a 400 grit) to smoothen out or wet sand the sealant once it has dried on Decoupage. Generally, finer grit sandpapers are better as they will gently smoothen out and flatten the uneven surfaces on Decoupage.
You can use fine sandpaper on most Decoupage craft projects to help you get a smooth and even finish.
But before using fine sandpaper to smoothen out the finish on your Decoupage. You should ensure the sealant you have used does not dull, turn white, or lose transparency when it’s lightly sanded.
You will also need to ensure that the surface and materials used in your Decoupage project can take sanding. Some surfaces, materials, or sealants may not respond well to sanding and can be very fragile.
This includes surfaces and materials such as glass, acrylic, fine paper, and some metals, which can be prone to scratching or damage if you press down too hard using sandpaper.
So to be safe, you should use a scrap piece of your Decoupage project to test the surface, materials, and dried sealant with your chosen sandpaper. This will allow you to see the finish you’re able to achieve before sanding your main Decoupage piece.
If you are using Mod Podge or another Decoupage sealant to finish your project. In most cases, it should be fine to sand once it has dried using fine sandpaper.
You can use fine grit sandpaper and some water to gently smooth out and even the surface of your Decoupage. It helps remove imperfections or bumps left behind by the dry sealant.
Why Is My Decoupage Finish Rough or Uneven? (5 Common Reasons!)
If you have completed your Decoupage project, but the surface or sealant feels rough, bumpy, or uneven. What are some of the main reasons for this to happen, and how can you avoid them to get a smooth finish.
Here are the common reasons for a rough or uneven finish in Decoupage:
1. The Surface Was Not Clean or Ready for Decoupage to Be Applied
Before starting any Decoupage project, it’s important to make sure that the surface or items you are using are ready for the materials and medium (such as Mod Podge) to be applied.
Applying Decoupage and sealant to a dirty or uneven surface will typically result in the finish of your project appearing rough or uneven.
So cleaning or sanding the surface before an application will help ensure the Decoupage is being applied to a smooth, clean, and even surface.
2. The Sealant Was Spread Unevenly
A very common reason for a rough and uneven finish on any Decoupage is when the sealant is not applied evenly.
This is mostly due to the type of brush that is used for the application, as using the wrong brush can cause visible brush strokes or allow the sealant to clump up and not provide even coverage.
So to help ensure the sealant is spread smoothly and evenly, you need to use the right kind of brush such as a sponge or fine art brush.
Using these brushes will allow you to carefully apply each coat of sealant and give you a much greater chance of getting a smoother surface on your Decoupage.
3. The Decoupage Materials Used Are Prone To Wrinkles
The materials you use in your Decoupage project can often dictate how smooth or uneven the surface will be after the sealant has dried. Materials prone to imperfections or wrinkles can greatly affect how smooth the finish will be.
For example, using tissue paper in Decoupage can make your project very prone to wrinkles and uneven surfaces. So it’s important to know how a material reacts to the sealant or Mod Podge before using it.
Some materials can be more fragile than others, also some materials react in different ways to the sealants, glues, or Mod Podge which can make them appear creased, wrinkled, or uneven.
So it’s always a good idea to test any materials that you’re planning to use for Decoupage, before using them on your main crafting projects.
4. The Sealant Formula Contains Bubbles
A problem that can affect the smooth finish of many Decoupage projects is when the sealant or Mod Podge formula you are using contains bubbles before use.
If the sealant, glue, or Mod Podge formula you are using contains bubbles. These bubbles and imperfections contained within the formula will likely be transferred onto the Decoupage surface as you begin to apply.
This will result in an uneven finish that’s hard to get rid of, especially once it’s dried after a few coats.
So to avoid introducing bubbles and imperfections onto your Decoupage surface. You should try not to shake or stir your sealant in any way before use.
5. The Sealant Was Not Lightly Sanded Between Coats
An important step you need to take to get a smooth finish on many Decoupage projects is to lightly sand the sealant or Mod Podge between each coat after it dries.
If you are applying multiple coats of sealant to your Decoupage project and you don’t sand or flatten the surface between each coat. There is a chance that any imperfections on each coat or layer could be visible on the finished top surface, such as streaks or brush strokes.
So lightly sanding using a wet piece of #400 grit fine sandpaper on each coat will help to ensure you get a very even and smooth finish.
How Do I Get a Smooth Finish with Mod Podge?
To get a smooth finish when using Mod Podge. You should apply each coat evenly, then after every coat is dry, lightly sand each coat with a wet piece of #400 grit sandpaper and water. To finish, wipe dry and polish the final coat using #0000 steel wool.
When using Mod Podge it’s normally very easy to get a smooth and even coverage over Decoupage if you use the right brushes, fine sandpaper, and tools to flatten the surface after multiple coats.
If you want to avoid tackiness or stickiness on the Decoupage surface, you can use a clear acrylic spray or sealer. You can also add a protective final coat of Mod Podge to the Decoupage using a sponge, foam, or flat brush.
How Can I Avoid Brush Marks on My Decoupage Finish?
To avoid brush marks on your Decoupage finish. You should use a foam, sponge, or a fine art brush to apply the sealant evenly. This will help to ensure there are no visible brush strokes or marks and leave the surface of your Decoupage with a smooth and even finish.
If you have problems with brush strokes or marks covering the surface of your Decoupage. This is usually because the brush you are using is not applying an even coat of sealant or Mod Podge to the surface.
It could also be because you are changing the direction in which you are applying the sealant frequently using a brush.
So it’s recommended to use a sponge or foam brush instead of a heavily bristled brush. Also, apply the sealant carefully to your Decoupage surface in a uniform manner.
It can take some practice to get a perfect finish, but by using the right brushes, sealants, and tools you should eventually get a smooth surface on your Decoupage projects.